I revisited my earlier M42, M3 and M51 image sets to give them another go around in software.
As it turns out, there's a lot more detail in there which I simply don't know how to extract.
These images are the results of my experiments. I included both the old and new for comparison.
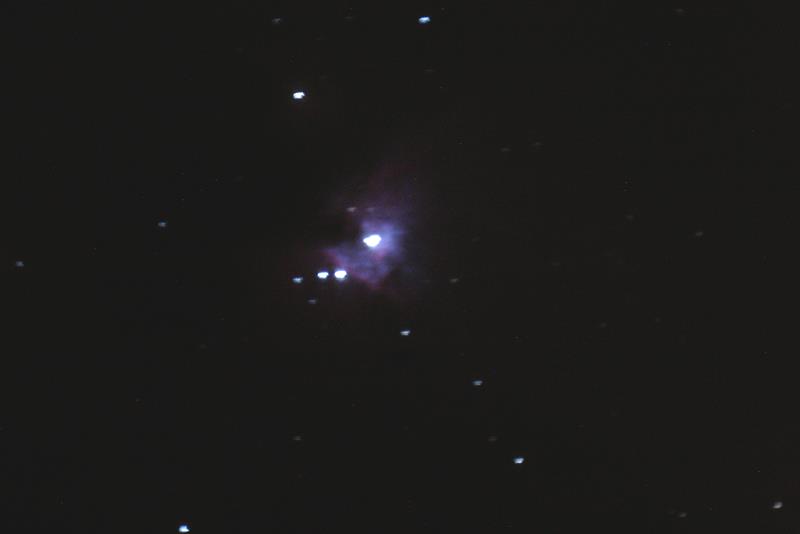
M42
 |
| First pass |
 |
| Second pass |
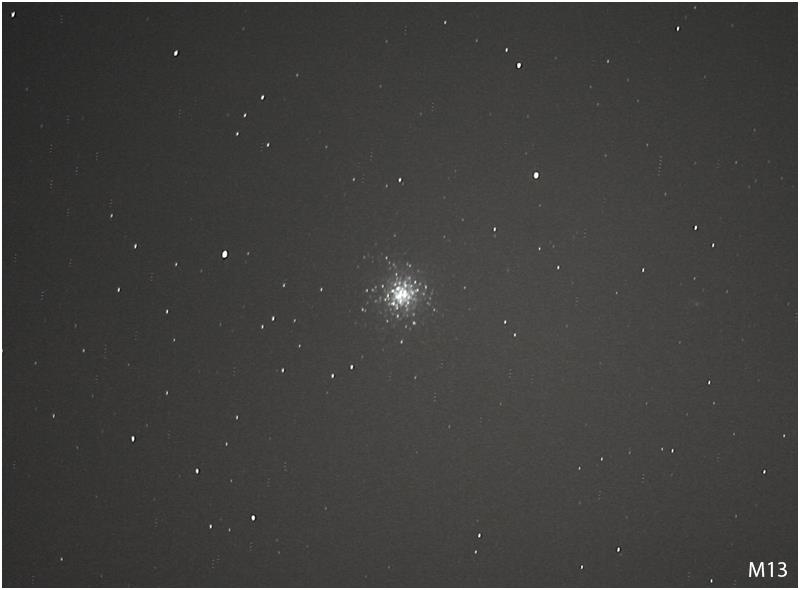
M3
 |
| First pass |
 |
| Second pass |
M51
 |
| First pass |
 |
| Second pass |
For each of them, more noise is apparent. This isn't surprising giving how the image data is being stretched. These image sets have bias frames applied against them, but no flat frames.
In each of them, I had to brush out dust mote imprints and subtract vignetting in Photoshop as a postprocessing step. I'd like to try minimize this by pre-processing the raw frames with flat field images. I haven't taken any of those yet.
The two biggest changes I made in processing these images was to:
- Not overdo the levels stretching. Watch that histogram closely. It's more important to get a nice bell-ish curve going (depending on the image) than to try make your background deep and your stars pop. The moment any "blackening" or "popping" occurs, you've probably lost data.
- Curves!!! Holy smokes, this made a big difference! Being able to recognize what you want to draw out, and then manipulate the curves to reflect it, has had the biggest impact. The same rules with stretching the levels applies. Avoid any clipping (if reasonable) so cores aren't blown out and faint stars aren't lost.