Tuesday, October 16, 2012

The C6-NGT and Astrophotography Take 2

On this night I decided to try image two targets.  One that I could clearly see with the telescope and another that I couldn't.

This round, two things were different:

  1. I spent the time ensuring I had a better alignment.  It took a great deal longer, but the results blew away my first shoddy attempts at taking pictures with this gear.  Instead of doing a simple two-star alignment with an additional calibration star, I did a two-star with several calibration stars AND I performed Celestron's All-Star Polar Alignment routine.

    Assuming the All-Star routine really works (which is evidently does), it's really amazing how far off my mount was in pointing to the north celestial pole.  I don't have a polar axis scope, and given other amateur astronomers feedback on the All-Star routine it looks like I may not really need it!

    On a good night, the alignment routine will take me 15 minutes.  This is a far cry from the 45min+ needed for a good drift alignment.  I also assume it's not as accurate as a carefully applied drift alignment.  Regardless, the All-Star routine gave me one minute exposures with virtually no trailing.  Maybe I was just lucky!
  2. I bought a bahtinov mask from Farpoint Astro.  This took all the guesswork out of focusing and as far as I'm concerned, is a cheap no-brainer accessory to add to your imaging toolkit.  I couldn't imagine focusing without it.  I first tried to make my own, but I eventually decided that $18 bought me a piece of equipment vastly superior to what I could make.

The Easy Target

M92, a globular cluster in Hercules is nice and bright in the eyepiece.  You can easily see it in a short exposure and is therefore easy to locate and center.  You don't have to spend hours imaging and processing to discover that your target is being clipped accidentally.

M92 - Globular cluster in Hercules.  4 x 30"


The alignment is definitely better, with little to no trailing.  However, evidence of coma clearly shows around the edges of the image.  Darn newt.  Well, maybe when I get better at this I can look into a coma corrector.

The Hard Target (for me)

Caldwell 34 -- the Veil Nebula in Cygnus -- is a DSO I can't see from my home with my telescopes, although I have seen it in my 10" newt at a dark(er) site.

I only took one sub of the Western Veil (30 seconds at ISO800) and at first glance I could see nothing...

C34 - Veil Nebula in Cygnus
... but it's there!  This was my first face-to-face with a DSO that would need more subs, a longer exposure and heavier processing to draw out the details.

Here's a Photoshopped version of the same image to help draw out the nebula:


Saturday, October 13, 2012

The C6-NGT's First Terrible Pictures

A couple of days after I took my brandy new C6-NGT out for first light, I decided to try hook up my DSLR to it.  The first series of pics weren't great, entirely due to a hasty and beginner's alignment.  The exposures were about 30 seconds each.

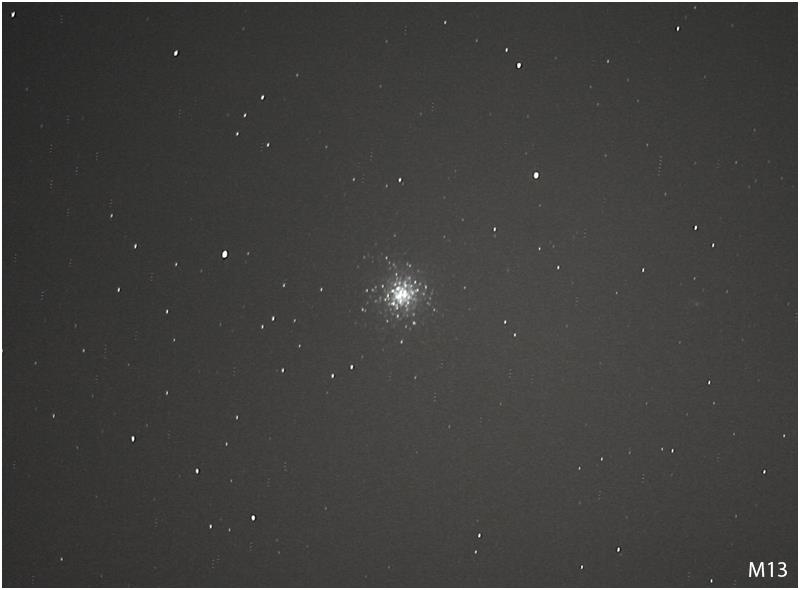
My first shot was of M13, a globular cluster in Hercules.

M13 - Globular cluster in Hercules
Compared to my first shot of M13 using the MallinCam, this image's detail is much higher, but trailing is clearly visible from a lousy equatorial alignment.  I was still quite excited about my first shot, though, on a real equatorial platform.

I then decided to slew over to M57 in Lyra.

M57 - Planetary nebula in Lyra
Just like the first shot of M13, field rotation from a bad alignment is obvious; even more so in this picture... I wonder if I bumped the mount after my first imaging of M13.  However, the color from this picture was great.

Overall, I was quite satisfied and excited about my first outing with a more capable beginners imaging set up!


Saturday, August 11, 2012

Poconos and the XT10i

The Orion XT10i is a marvelous performer under many skies, but during a week-long vacation I was amazed at the difference between the North East Philly sky and those found only 3 hours north around the Poconos and Greentown, PA (Promised Land State Park).

On this night the Wild Duck open cluster (M11) was incredible.

The contrast of the DSO's virtually exploded in my eyeball (in a good way), and things I had only seen faintly before (like M51 - Whirlpool Galaxy) or not at all (like C34 - Veil Nebula), were RIGHT THERE!  Clear as day! (So to speak.)  Globular clusters resolved with thousands more stars and the milky way appeared (dimly) crossing the sky.

This was around the time I decided I had to try astrophotography with a more capable set up than my Meade ETX 125.

Sunday, April 8, 2012

The Trifecta!

One evening while picking up some Chinese food from a local establishment, I noticed something I hadn't seen in quite a while:  three of our solar system neighbors nicely grouped together!

Here's a shot, taken with my iPhone, of Venus (top), a waxing crescent moon (bottom right) and Jupiter (bottom left).

Clockwise from top: Venus, waxing crescent Moon, and Jupiter.

Sunday, March 11, 2012

The Orion Nebula and the ETX

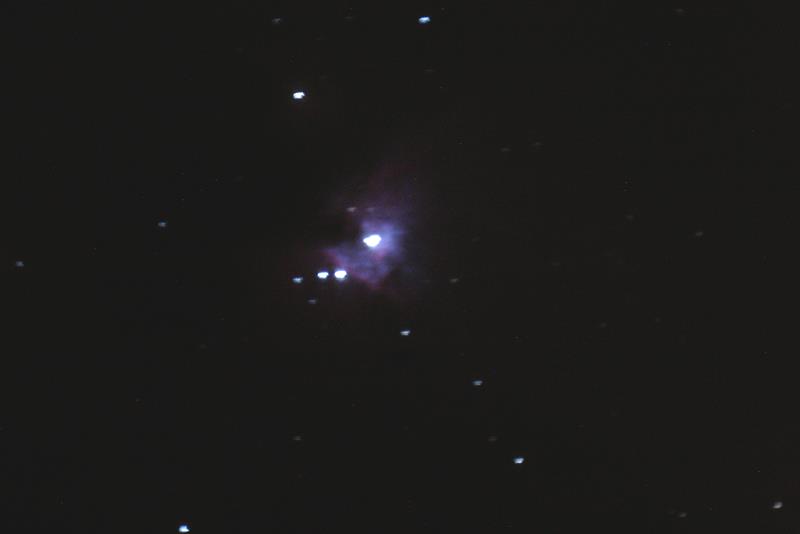
Ever since I got my Meade ETX 125 as a quick(er) grab 'n' go scope for camping and other traveling excursions I'd wanted to try shift the mount into equatorial mode so I could take a few longer exposure pics.  A nice bright target was available, M42, which can readily be captured with a relatively short long exposure.

Speaking of camping with the ETX, here's a quick diversionary picture of the ETX in camping mode:


The time of day here is actually around 8pm.  The camera did a great job of lightening the scene.  The only problem with astronomy and state parks (I think this was French Creek State Park in Pennsylvania) is that there are a lot of trees.

My first attempt at DSO photography with my Meade was pretty rough.  While the mount is able to shift into an equatorial configuration, you can tell that it doesn't really want to and is much happier as an alt-az mount.

Using approximations and trial and error, you adjust the mount plate to your current latitude, orient the scope as described in the manual, switch the hand controller to Polar mode and align just as you would in alt-az mode.

All things given, tracking in polar mode is great.  After slewing to the target, the mount then only uses one motor to keep track of the object.  One the plus side, for visual use, the object stays in the viewfinder for a good long time.  On the negative side, the standard eye piece sometimes gets into awkward positions.  On the other hand, if you're using the visual back, the scope can't slew to everything it would like to since the diagonal would hit the mount.

Despite tracking being better in polar mode, it's still not really good enough for astrophotography.  The mount simply isn't built for it.

First Attempt

Here's my first image of M42 using the ETX in polar mode with my Canon Digital Rebel hanging off the visual back:


Elongated stars point to a crummy alignment, but look at that color!  After using the MallinCam, even this blurry image was tremendous.  This was about five 30" frames processed using Registax, then post-processed using Photoshop.

Second Attempt

The alignment this time was a vast improvement over my second attempt, and I dare say this image is quite decent for a beginner!


Apart from my alignment being much better, I pushed up the ISO of the camera.  The image is definitely grainier, but there's also a lot more detail.

Tuesday, March 6, 2012

It's So Bright!!

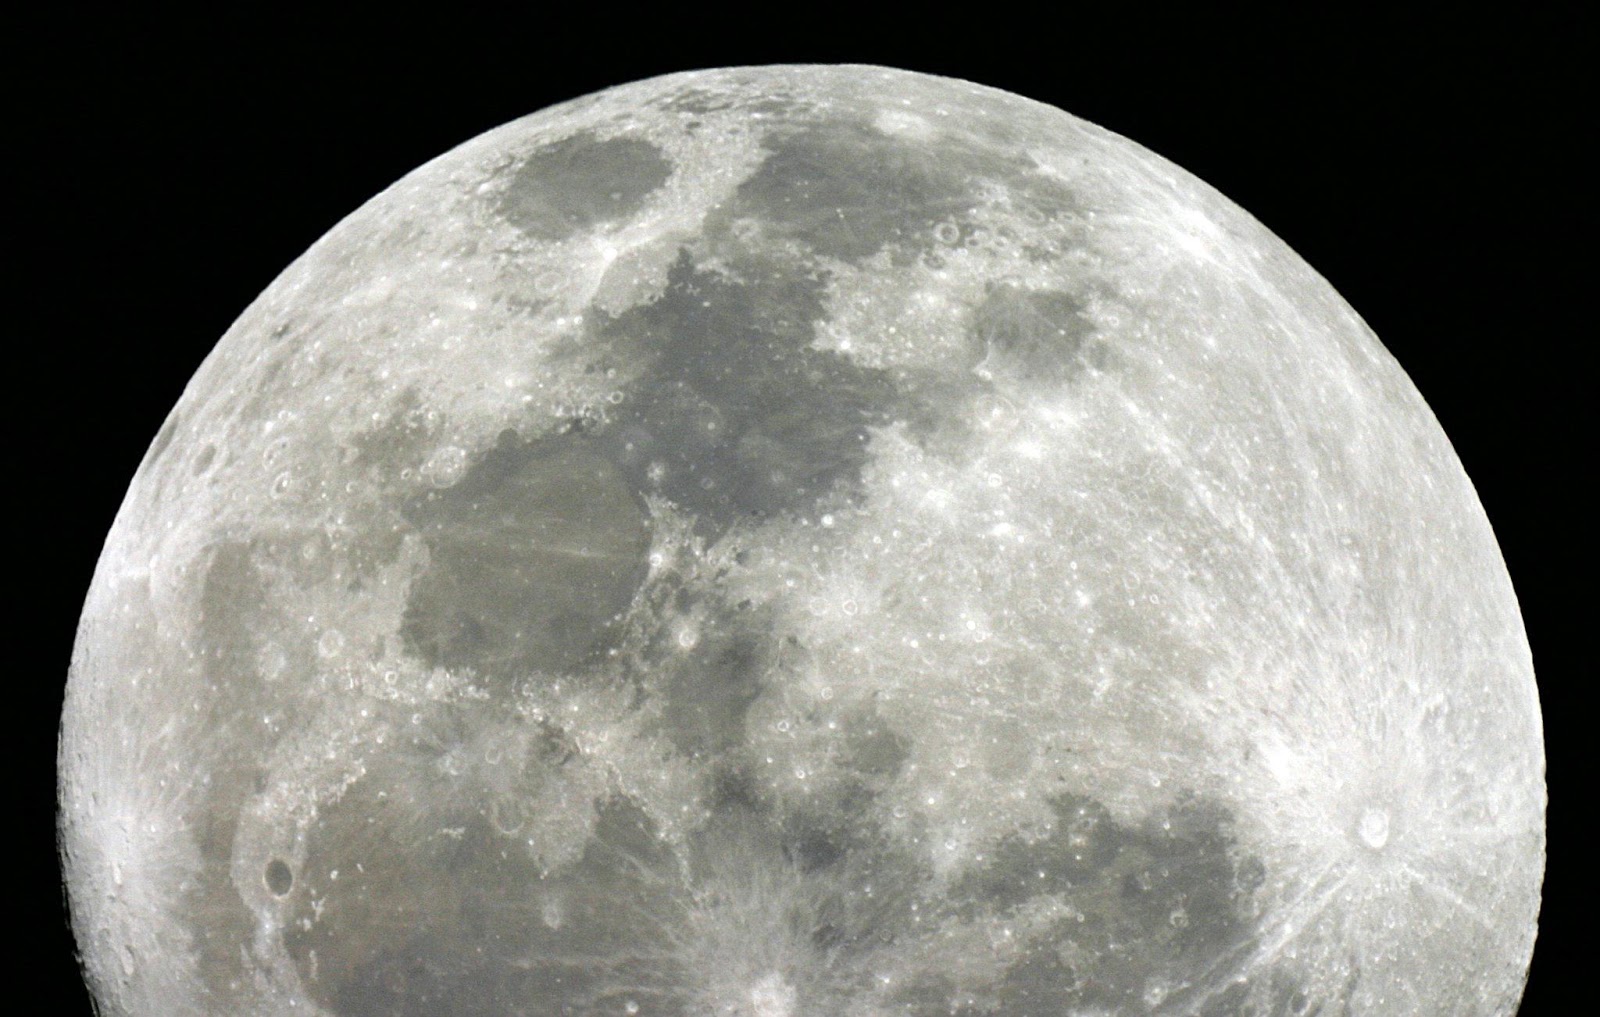
Without a doubt, the worst time to take a picture of the moon is when it's full.  And that's what I chose to do.  In the middle of the night, it's like looking at a lit light bulb with one eye open.  One eye is fine, while the other has a long lingering afterimage.

This prime focus image was taken with my Canon Digital Rebel hanging off the visual back of my Meade ETX 125.

Meade ETX 125, Canon Digital Rebel - Full moon
That's one big moon.  I wasn't able to fit the whole thing in one frame.


Saturday, September 24, 2011

The Denver Observing Chair

After I got my dobsonian, I started realizing that the constant half-stand, half-crouch was taking its toll on my back.  I also learned that being seated helps improve your observation of those distant celestial bodies by helping you to concentrate on the eye piece and not on keeping your (well, my) aging body still.

I looked at a few commercial options for light weight collapsible chairs and was horrified by the $130-260 price tag on a lot of them!  I dug around a bit more, checked out the forums, and found a link to instructions for making my very own Denver Observing Chair.

Construction of the chair was simple, and relatively rapid.  The most time consuming portion was applying the stain.  Turns out applying three coats (including drying) takes a long time.

At any rate, the end result was marvelous!  Anyone with basic coordination can probably put one of these together, and having a sturdy chair to sit in, that's infinitely adjustable, is priceless!  The only negative aspect is that compared to a commercial aluminum chair, my home made one is somewhat heavier (but totally manageable).

The Denver Observing Chair